 
|
|
|
|
|
|
|
|
|
|
 $19.99 Bad Robots T-Shirt Power Converters not included. These droids aren't bad, just drawn that way. Art by Chris F. Bartlett. Printed on 4.5oz, 100% soft spun cotton, fitted t-shirts. Sporty v-necks for the girls. Not your father's boxy tees.
  Tusken Links: Studio Creations The original Tusken costuming site.
Tuskens on Facebook Pics & Reference
Krayt Clan
Prequel Trilogy:
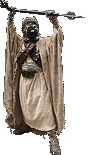
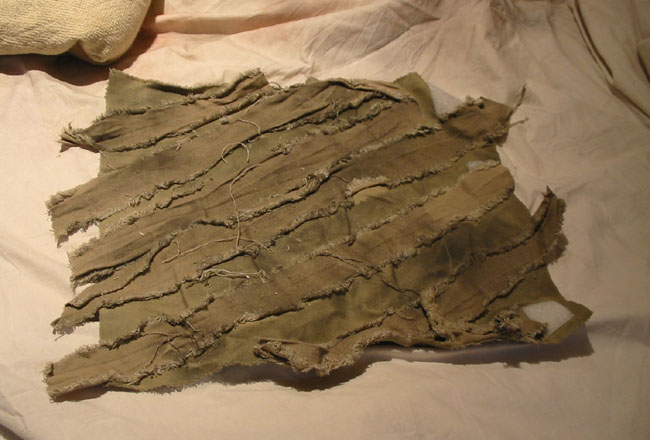
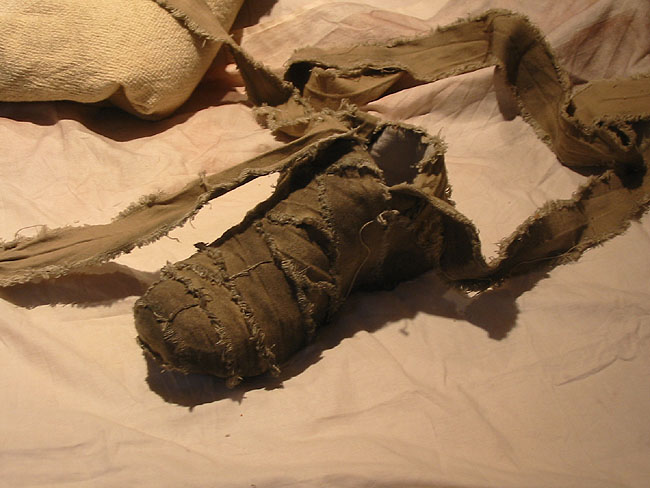
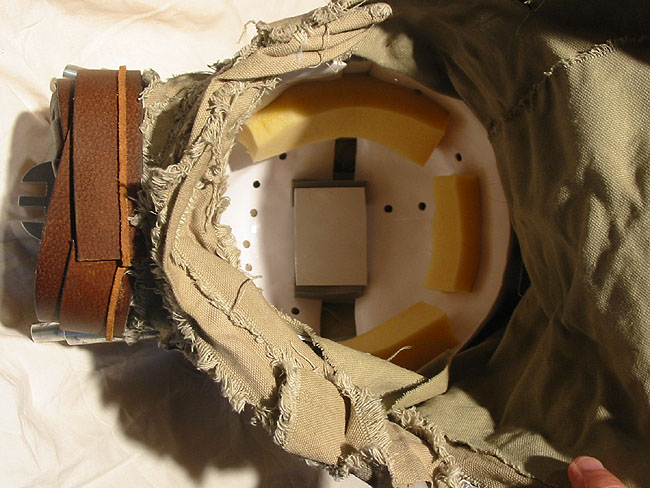
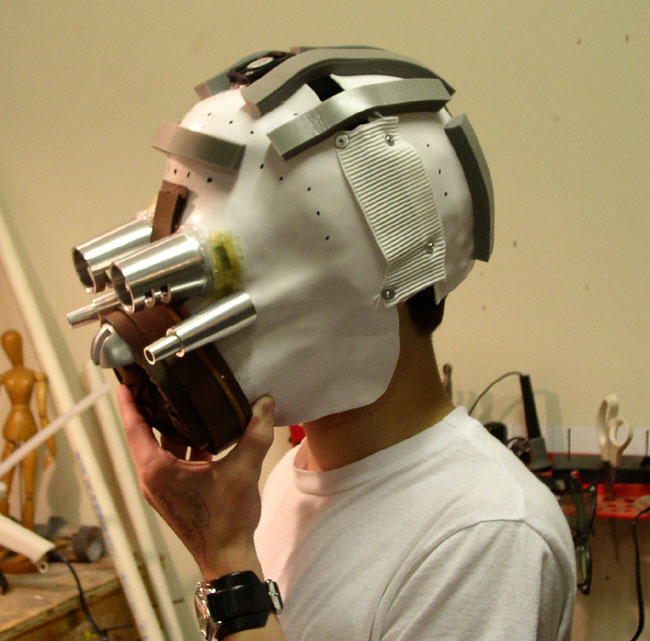
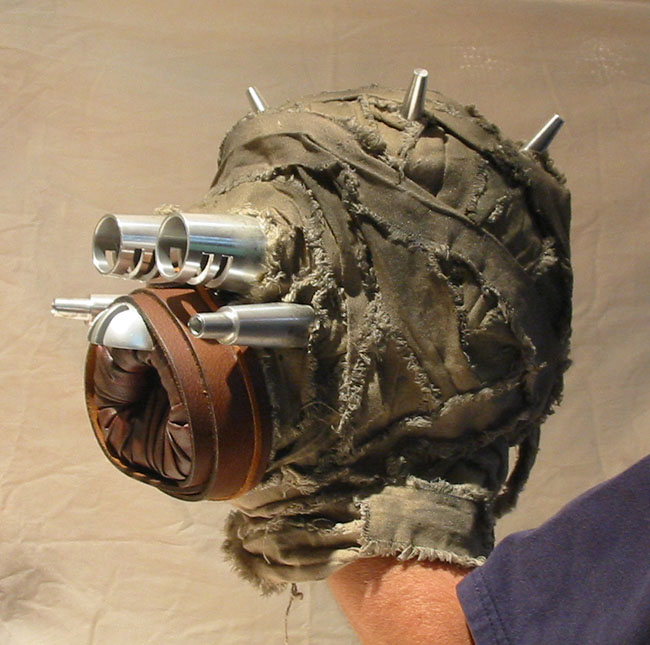
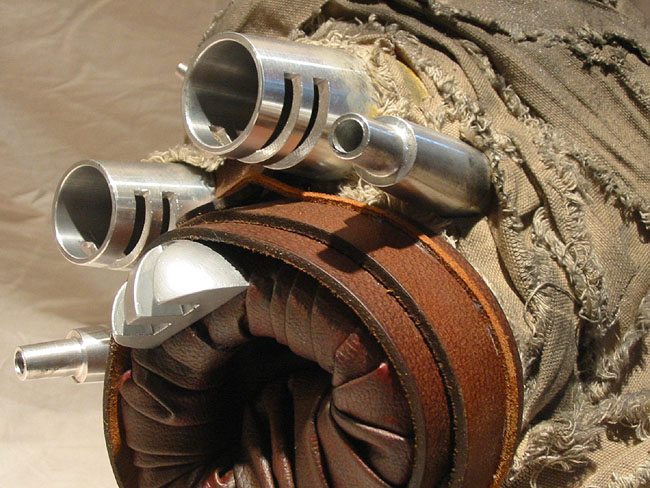
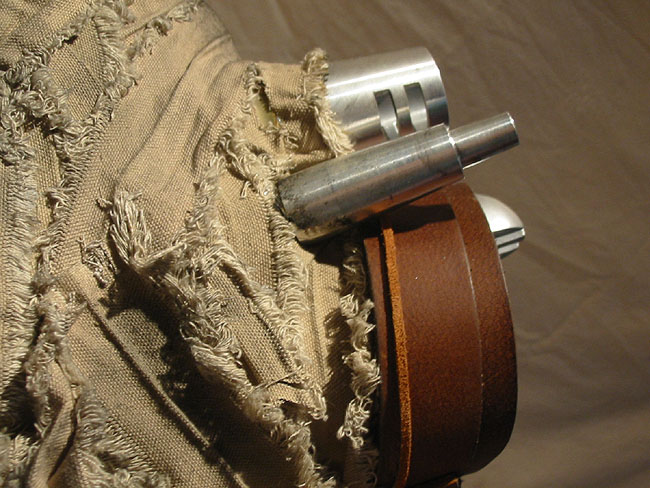
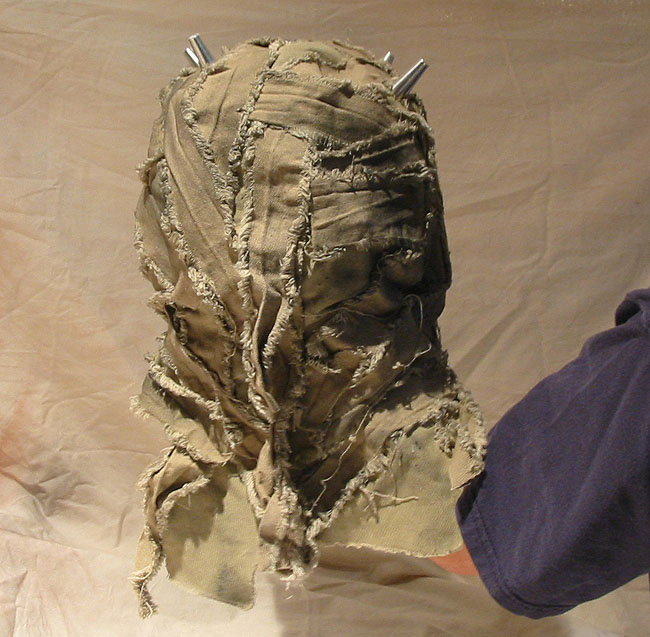
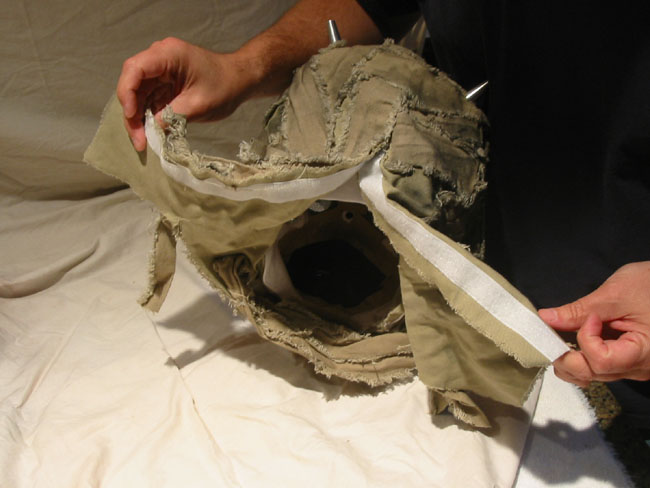
Head: Andy Miller (aka Mr. Fett) makes the smaller prequel-sized head shells and the metal parts were machined by him as well. Kevin Christley makes a taller, more accurate original trilogy head shell, like the one on my latest Tusken head. The most accurate sized machined aluminium face parts are available through KingJawa. These can also be seen on my latest Tusken. A very common mistake Tusken costumers make on their heads is using material that is cream-colored - this is too light. The wrap material used should not be a cream or canvas color, but dark khaki. I cut khaki duck cloth into strips and washed and dried them. (a few knots to cut through afterwards - but worth it!) Then I wrapped them to the head using hot glue (use the big gun). Then I misted it with black spray paint in places and dabbed on a wash of black tempera paint. Mouth For the inner mouth I pretty much use the Studiocreations tutorial on his site. A long rectangular piece of material. It doesn't have to be very wide, maybe less than 6 inches, but it's probably close to 3 feet long. I basically start at the top under the outside of where the nose sits and then hotglue it right side up at one end of the length. Then fold the next bit back onto itself and hotglue the inside of the part you just folded back onto that part of the first section that is showing. Then back down right side up again, back and forth this way. Then tuck it around inside the mouth hole and glue the excess slack around the inside of the headshell. The bigger space you put between each pleat, the bigger the folds will look and vice versa with making the pleats closer together. Going around the jaw line is a little tricky because sometimes there's too much material there and you may have to cut some.
|
![]()


 Female Tusken:


